How to Create an MCP Server
We currently support MCP server creation for:
-
Slack
-
Jira
- Slack
- Jira
Follow these steps to create and connect a Slack-based MCP server:
1. Create a Slack App
-
Visit the Slack API Dashboard
-
Click Create New App
-
You have two options to configure your app:
Option 1: From a Manifest
This is the recommended way to configure your app quickly with predefined scopes.
Example Manifest Permissions:
display_information:
name: demo-app
oauth_config:
scopes:
    user:
    - channels:history
    - channels:read
    - channels:write
    - channels:write.topic
    - chat:write
    - groups:history
    - groups:read
    - groups:write
    - im:history
    - im:read
    - im:write
    - links:read
    - links:write
    - mpim:history
    - mpim:write
    - search:read
    - users:read
    - users:read.email
    - users:write
settings:
org_deploy_enabled: false
socket_mode_enabled: false
token_rotation_enabled: false
Option 2: From Scratch
You can manually configure your Slack App and add all the required scopes one by one.
Note: Make sure the app has all necessary permissions for reading messages and sending responses, as used by the MCP tools.
-
Select workspace in which you need to install your app.
2. Install the App to Your Slack Workspace
- In your Slack app settings, navigate to the "Install App" section in the left sidebar.
- Click on Install App.
3. Get the Slack User OAuth Token
- After installing the app, generate and copy the User OAuth Token.
- This token usually starts with
xoxp-... - You'll need this token when creating the MCP server.
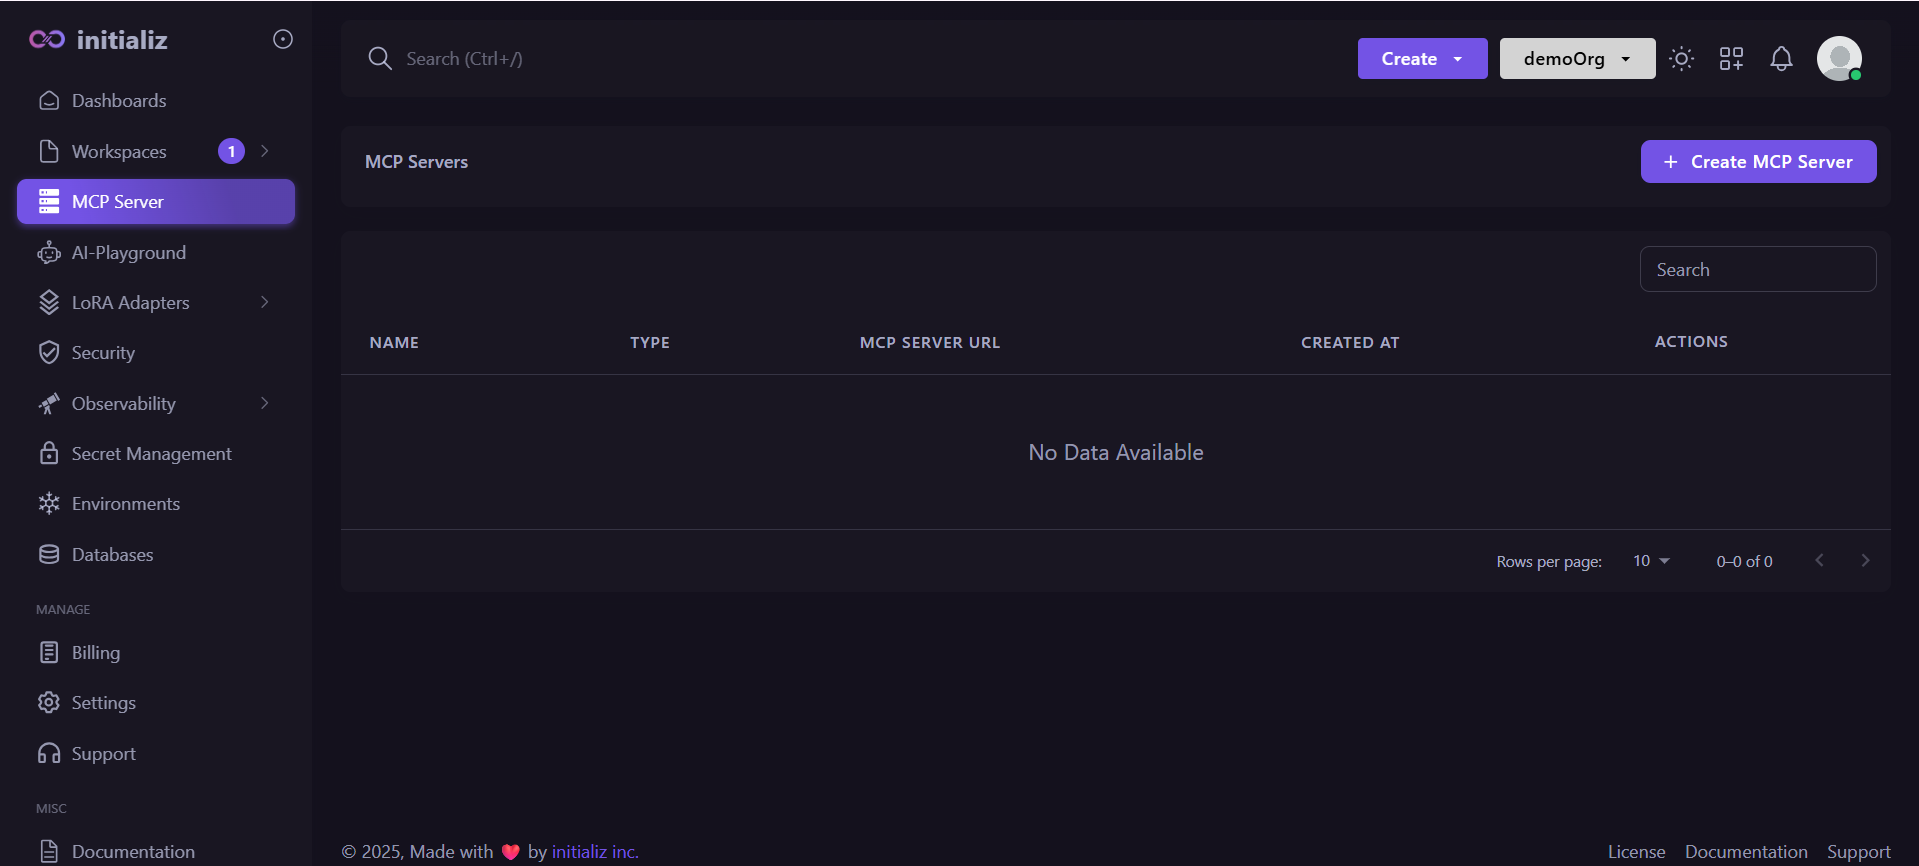
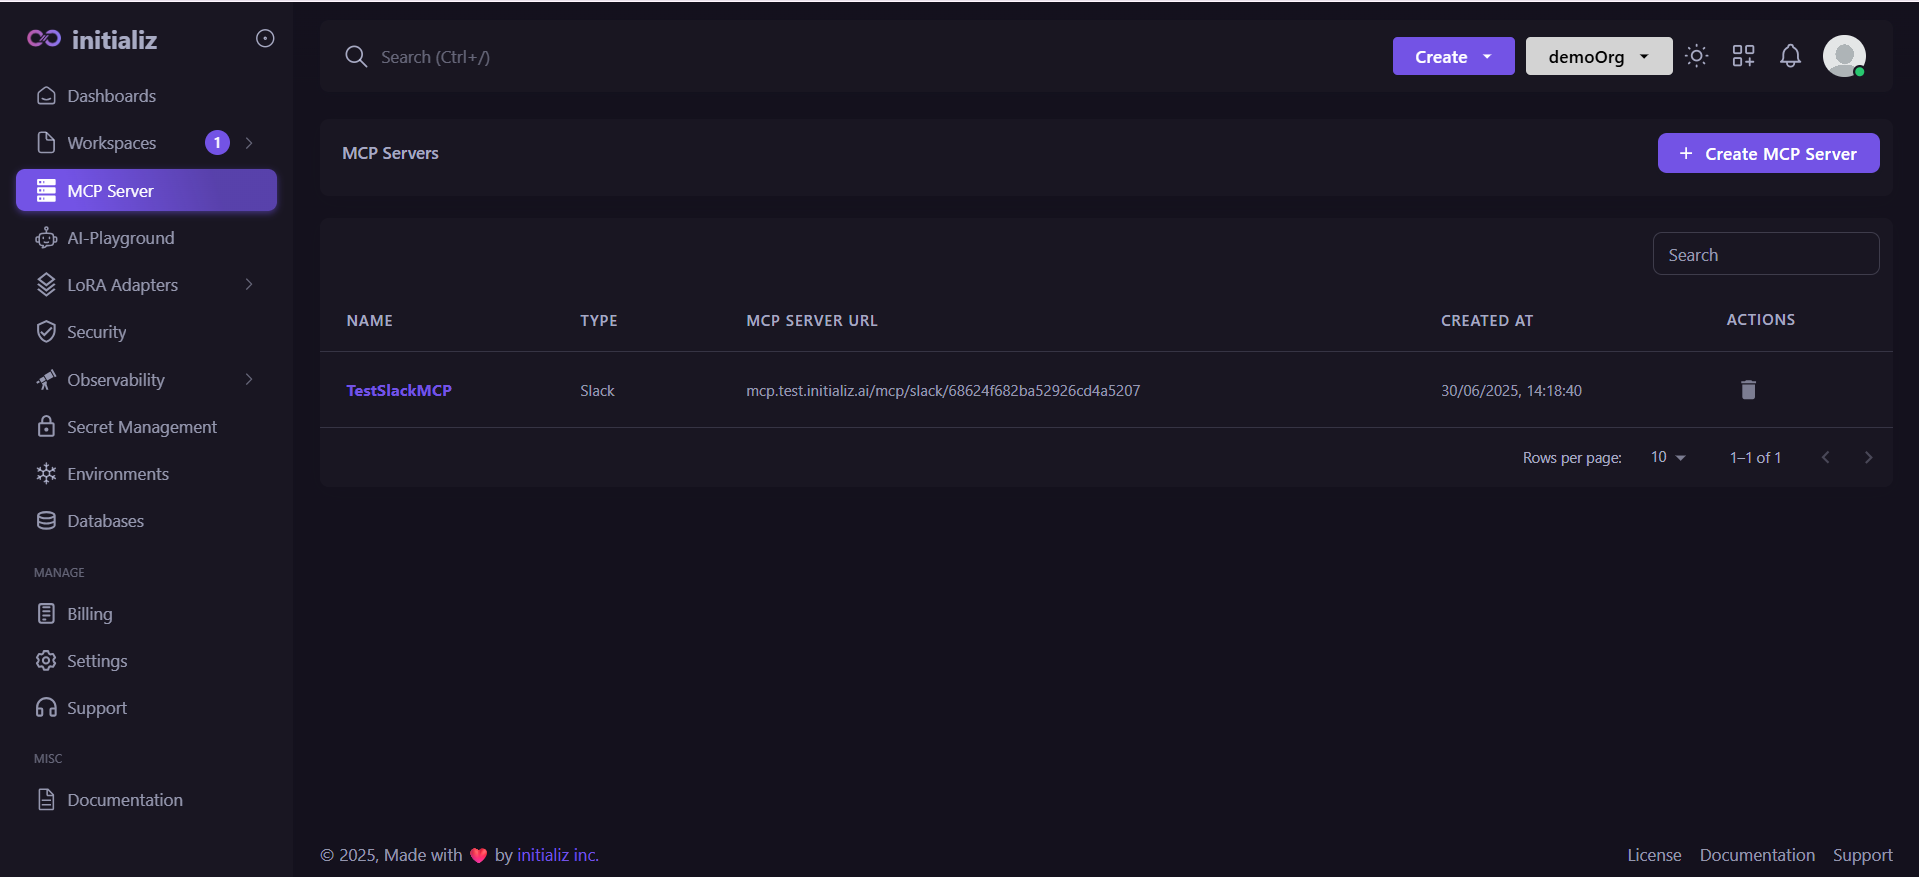
4. Create MCP Server on the Platform
-
Navigate to the MCP Server in Left sidebar on platform and Click on Create MCP Server.
-
Select Slack as the integration type.
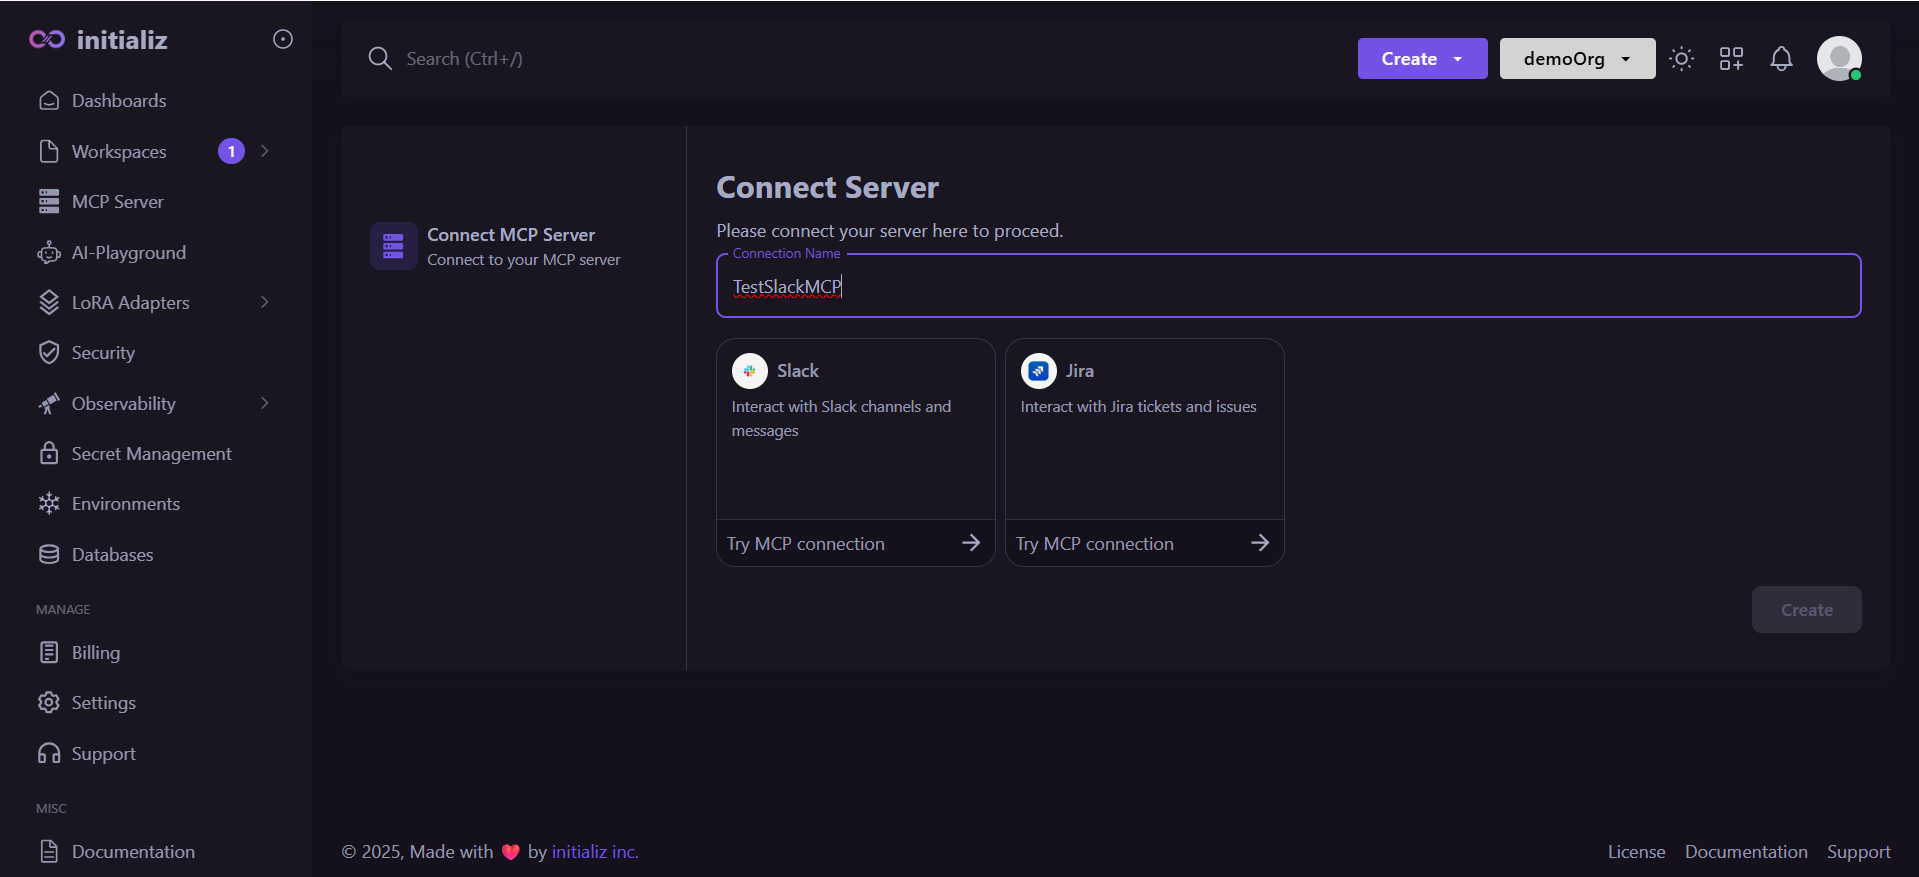
-
Paste the Slack user token you copied earlier.
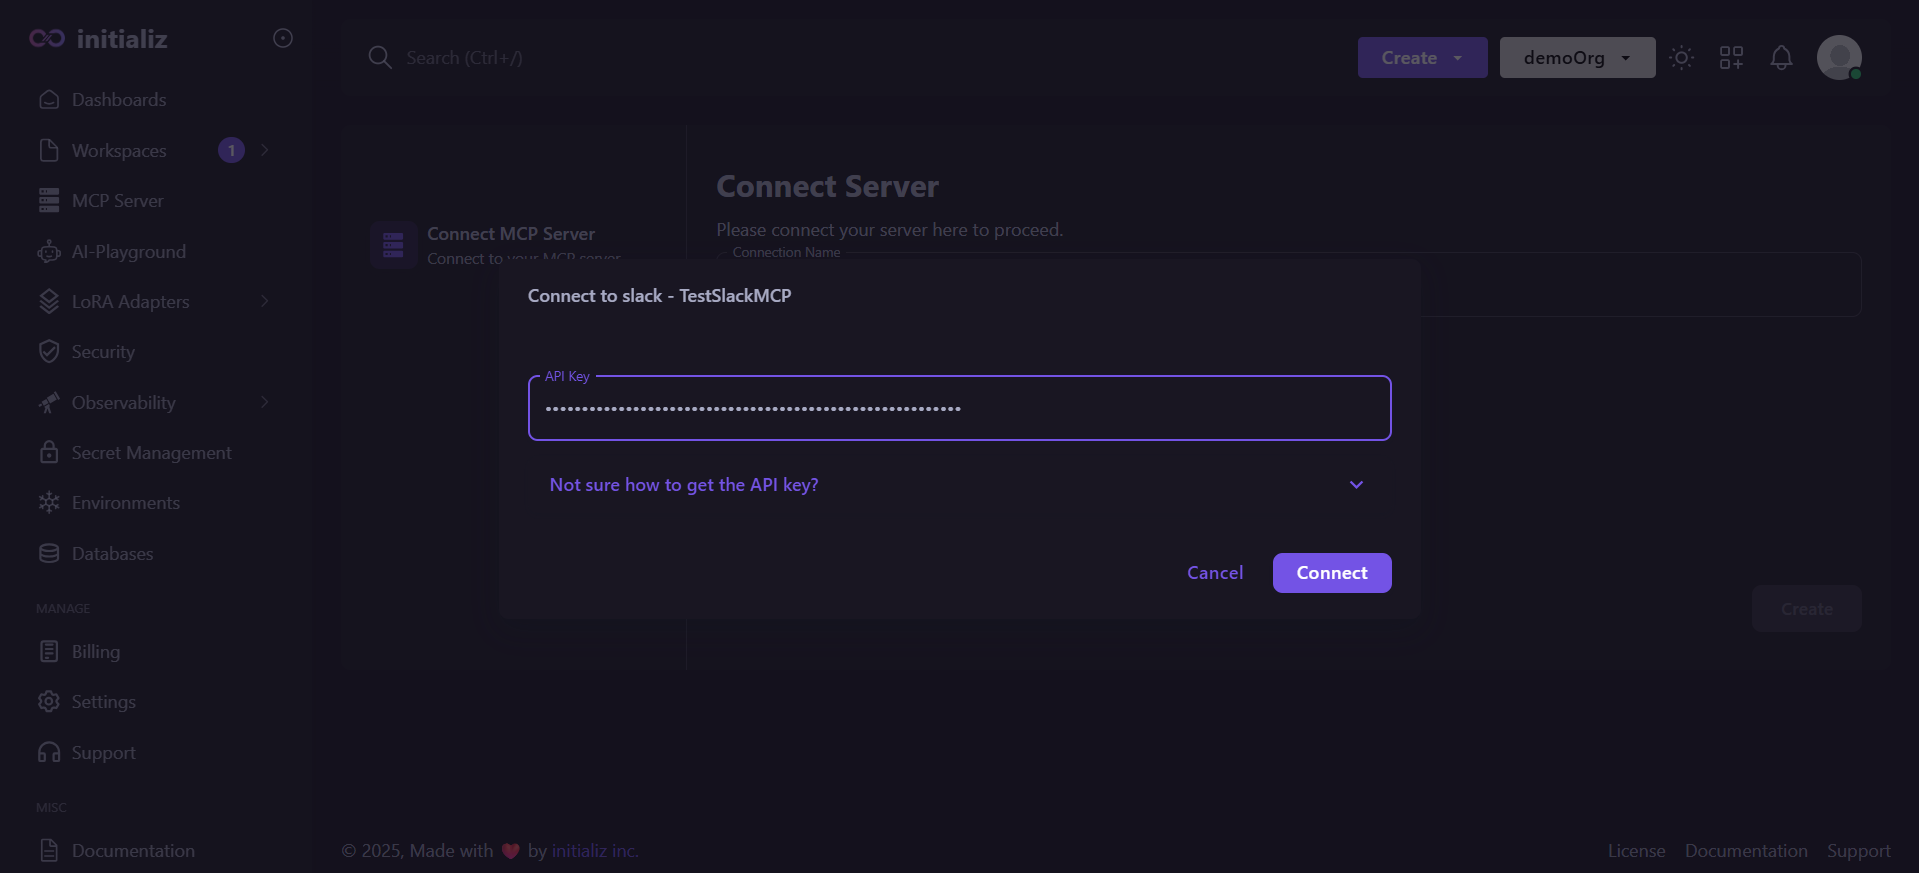
-
Click "Connect" and create your MCP server.
⚠️ If you encounter any issues during the connection, please double-check that your API Key is valid.
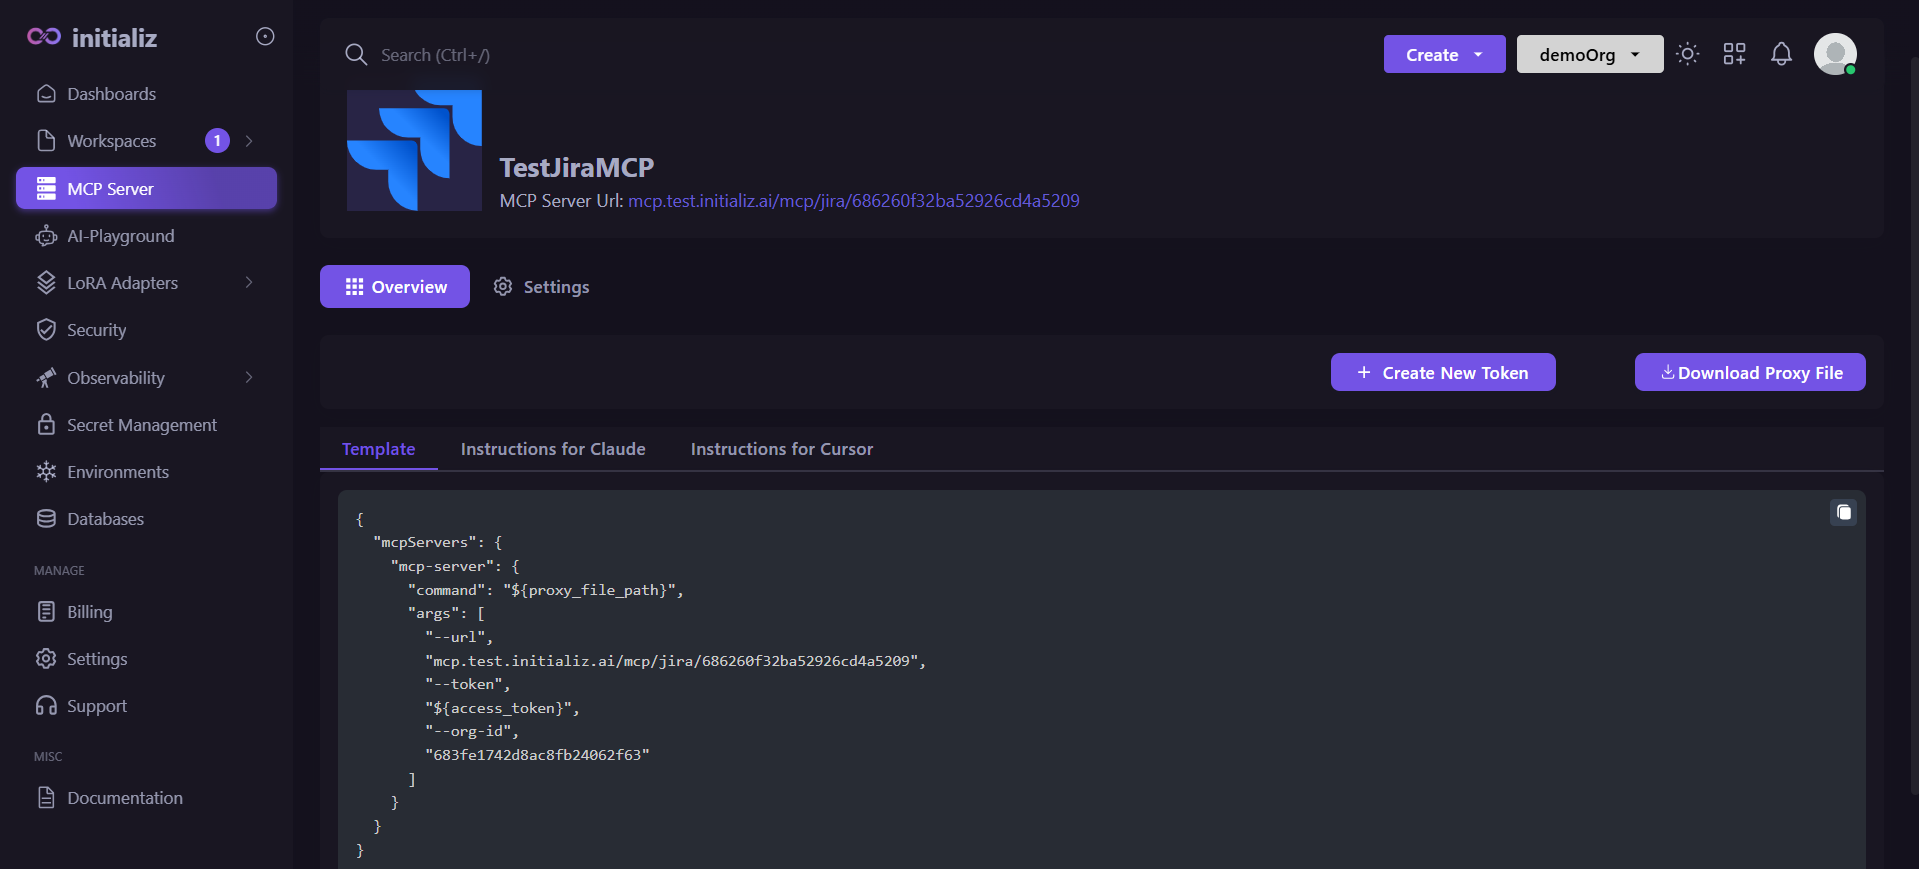
Once the MCP server is created, you'll receive:
-
A unique MCP Server URL
-
A sample configuration block to use in tools like Claude or Cursor.

Prerequisites
Before creating a Jira MCP server, make sure you have:
- A Jira API Token
- Your Jira Base URL : Use your organization's Jira base URL (e.g., https://your-domain.atlassian.net). Make sure to replace your-domain with your actual Jira workspace domain.
- The email address associated with your Jira account (used with the token)
Step-by-Step: Creating a Jira MCP Server
1. Generate a Jira API Token
- Visit https://id.atlassian.com/manage-profile/security/api-tokens
- Click on your profile image or avatar and select Profile.
- Navigate to Manage your Account.
- In your Atlassian account settings, go to the Security tab.
- Click on Create and manage API tokens.
- Select Create API token to start the process
- Enter a descriptive label for the token (e.g., "Scripting for Project X")
- Click Create, then copy the generated API token.
infoNote: You won't be able to view or copy the token again later
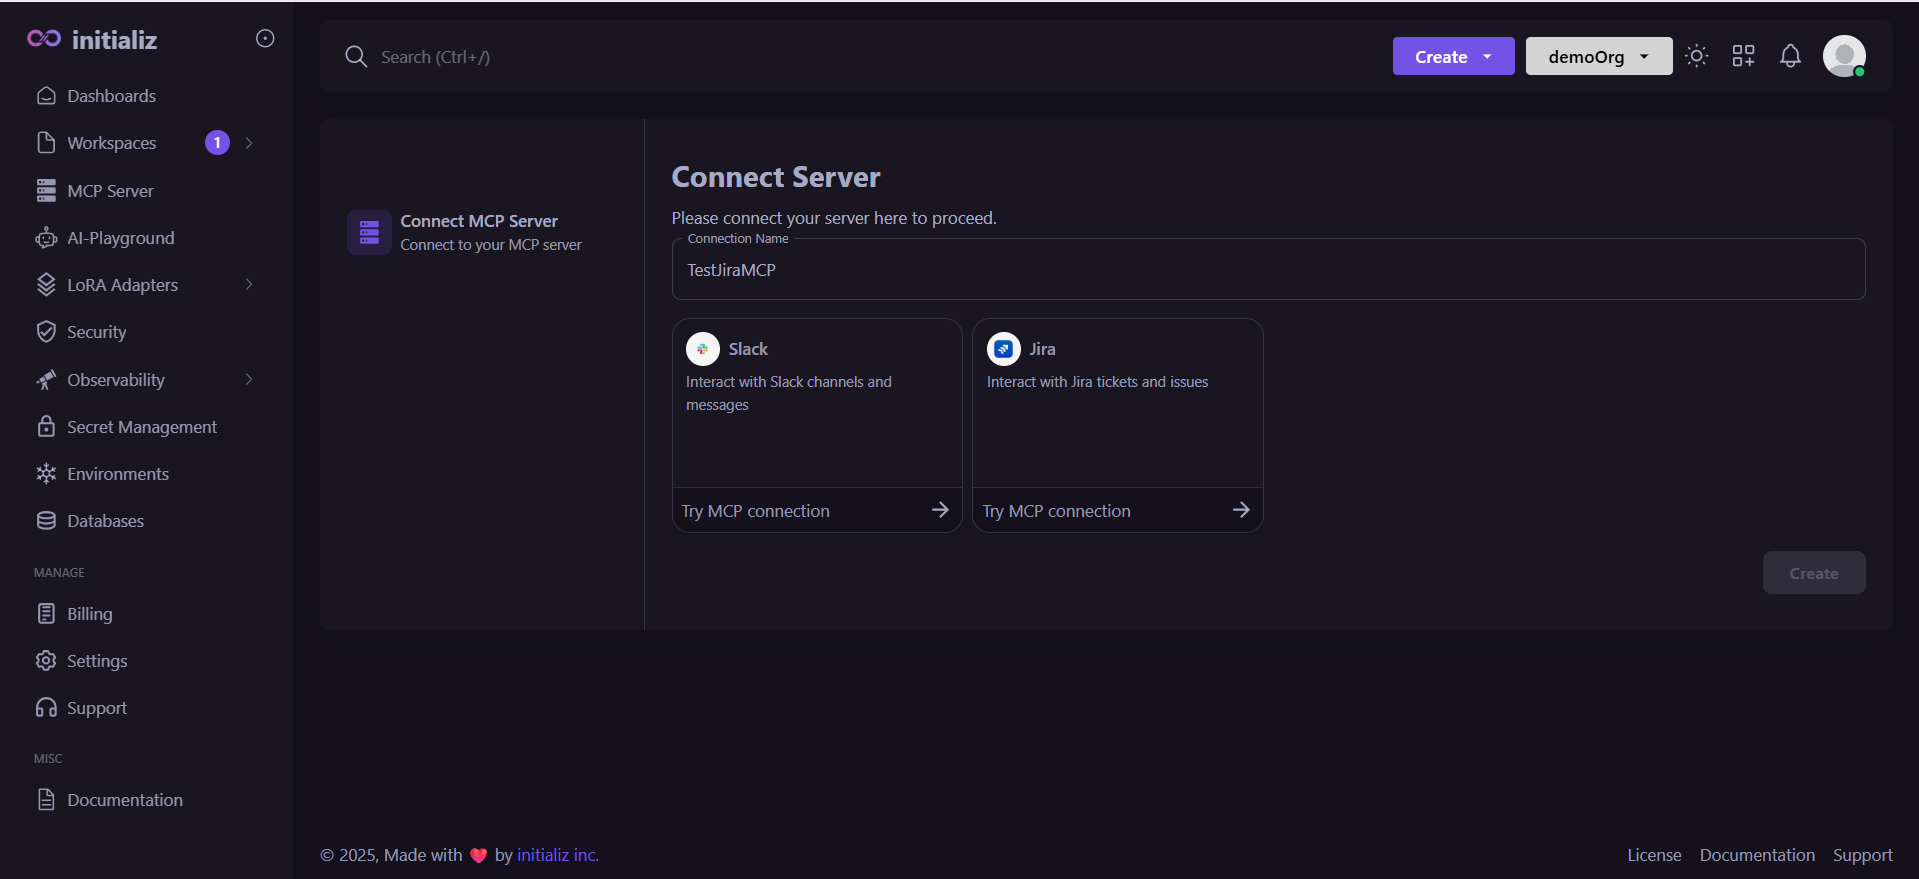
2. Create MCP Server on the Platform
-
Navigate to the MCP Server section from the left sidebar on the platform and click Create MCP Server.
-
Select Jira as the integration type.
-
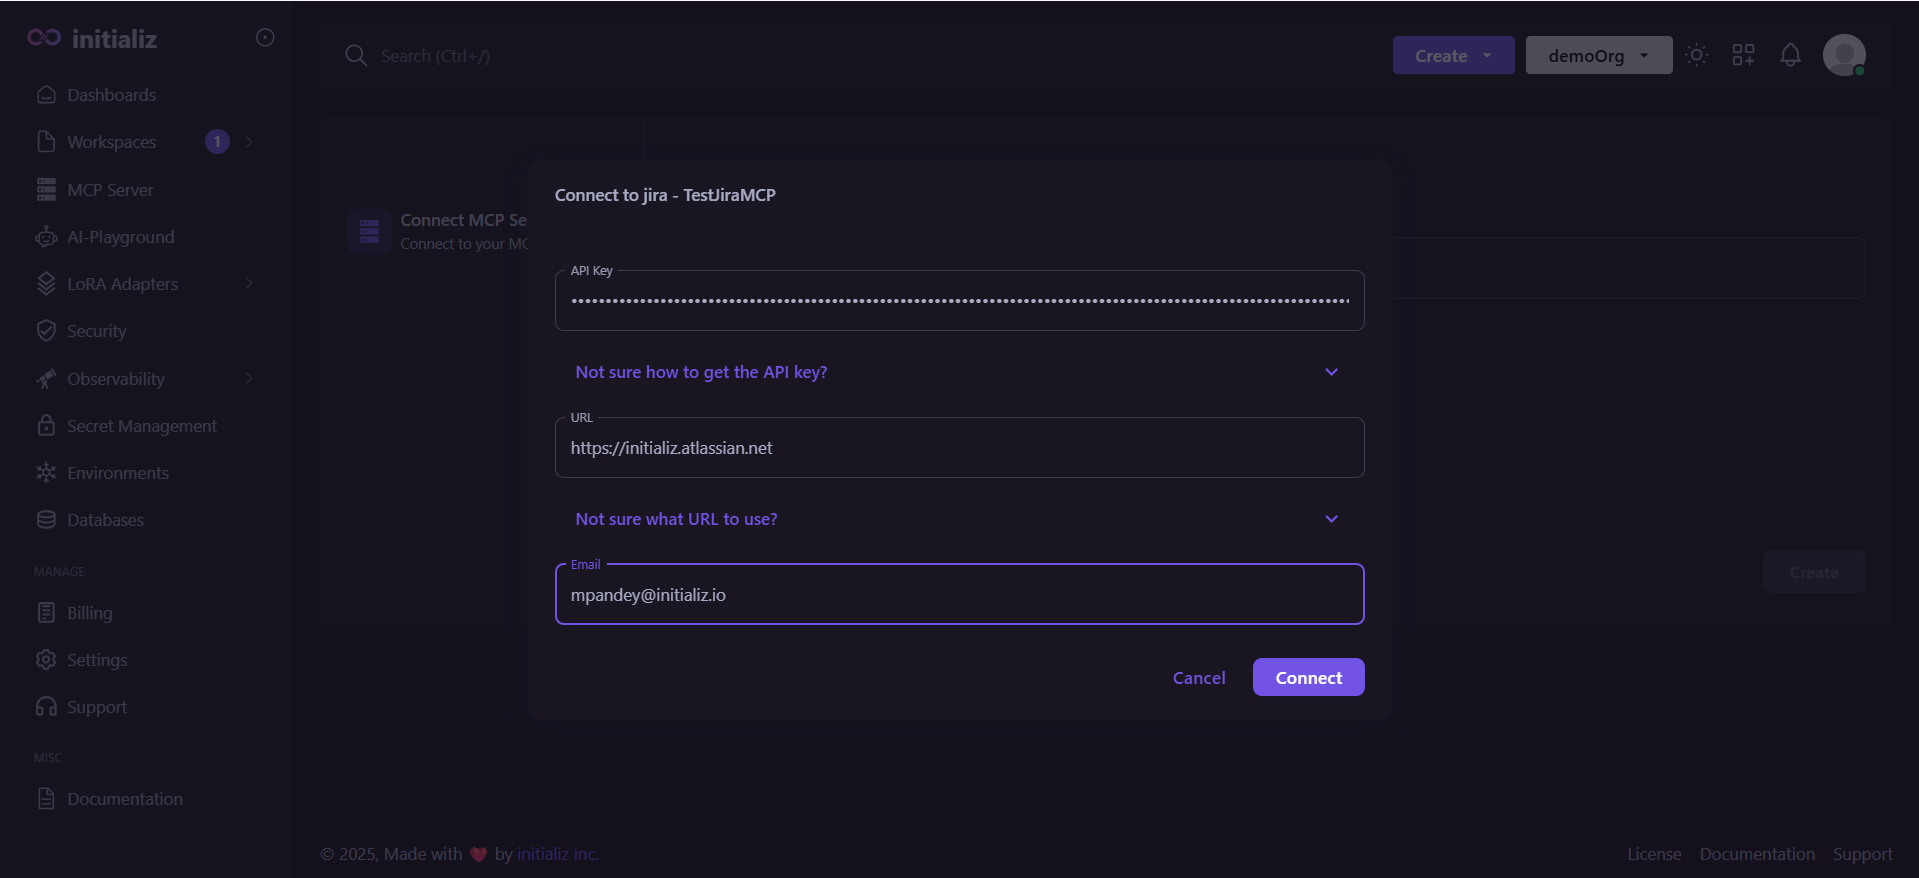
Fill in the required details:
- API Key
- Base URL (e.g.,
https://your-org.atlassian.net) - Email Address associated with your Jira account
-
Click Connect, then click Create to complete the setup.
⚠️ If you encounter any issues during the connection, please double-check that your API Key, Base URL, and Email Address are correct and valid.
Once the MCP server is created, you'll receive:
-
A unique MCP Server URL
-
A sample configuration block to use in tools like Claude or Cursor.